Specification |
||
| Basic Features | Sample Size (μL) | 0.5 |
| Test Time (seconds) | 5 | |
| Enzyme Type | GDH-FAD | |
| Code | No Coding | |
| Hematocrit Range | 20~60% | |
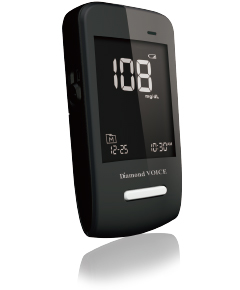
| BG Measuring Range | 20~600mg/dL (1.1~33.3mmol/L) | |
| Advanced Features | Memory | 450 |
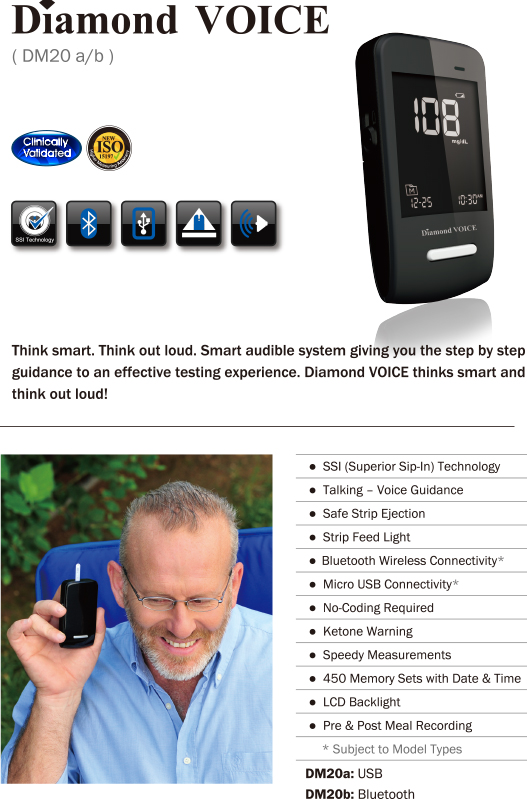
| Talking Function | Yes | |
| Strip Ejection | Yes | |
| Strip Feed Light | Yes | |
| Daily Alarm | 4 Sets | |
| AST | Yes | |
| Ketone Warning | Yes ≧240mg/dL | |
| AC/PC in Memory | Yes | |
| QC Record | Yes | |
| Day Average | 7/14/21/28/60/90 days | |
| LCD Backlight | Yes | |
| PC-Link | Cable | Yes, Micro USB |
| Wireless | - | |
| ZigBee | - | |
| GPRS | - | |
| Gateway | - | |
| Software | Support PC-Link Software | |
| Specification | Power Source | TWO 1.5V AAA alkaline battery |
| Power Saving | 180 seconds | |
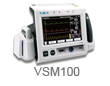
| Dimension (mm) | 104.4mm(L) × 58.0mm(W) × 23.0mm(H) | |
| Weight (g)- Batteries Excluded | 71.2g (Without battery) | |
 |
| 1.Sit back and relax: The Diamond Voice DM20 is designed to make glucose testing easier and simpler, especially for patients with impaired vision. No strip coding is required. |
 Voice Guide: Thank you for using this product. Please relax during measurement.Please apply blood to the strip.The blood glucose is xxx milligram per deci-liter. |
| 2.Perform a control solution test: Insert the test strip to turn on the meter, and press the button to mark this test as a control solution test with QC displayed. Apply the control solution and compare result with the range printed on the test strip vial. The result displayed on the screen should fall within the range. |
 Voice Guide: Thank you for using this product. Please relax during measurement.Please apply blood to the strip.The blood glucose is xxx milligram per deci-liter. |
| 3.Perform a blood glucose test: Insert the test strip to turn on the meter. Wait for the meter to display the test strip  and blood drop and blood drop  symbols. Mark your reading as pre meal or post meal measurements. symbols. Mark your reading as pre meal or post meal measurements. |
 |
| Turn the dial and select a puncture depth. Hold the lancing device tip firmly against the selected puncture site. Press the release button to obtain a drop of blood. |
 |
| Gently apply blood to the absorbent hole on the test strip. Blood will be drawn in by capillary action and the confirmation window will be completely filled. |
 |
| After the meter counts down to 0, test result with date and time will be displayed and automatically saved in the memory. |
 |
| Push the ejector to eject the test strip and dispose of it by following local regulations. |
 |
4.Data transmission: |