Specification |
||
| Basic Features | Sample Size (μL) | 0.5 |
| Test Time (seconds) | 5 | |
| Enzyme Type | GOD | |
| Code | No Coding | |
| Hematocrit Range | 20~60% | |
| BG Measuring Range | 20~600mg/dL (1.1~33.3mmol/L) | |
| Advanced Features | Accuracy of Pressure | ±3 mmHg or ±2% of reading |
| Accuracy of Heart Rate | ±4% of reading | |
| BP Measuring Unit | mmHg or KPa | |
| Pressure range | 0 - 300 mmHg | |
| Heart rate range | 40 -199 beat per minute | |
| Systolic Measurement Range | 55 mmHg -255 mmHg | |
| Diastolic Measurement Range | 25 mmHg -195 mmHg | |
| Pulse Rate Measurement Range | 40 -199 beats / minute | |
| Irregular Rapid Beat (IRB) Detection | Yes | |
| 3 Times Average Function (AVG) | Yes | |
| Auscultatory Mode | - | |
| Hi/ Lo Indicator (Sys 140/ Dia 90) | Yes | |
| Number of Users | 4 users | |
| PC-Link | Memory | 864 sets |
| Talking Function | Yes | |
| Strip Ejection | Yes | |
| Strip Feed Light | - | |
| Daily Alarm | - | |
| AST | Yes | |
| Ketone Warning | Yes ≧240mg/dL | |
| AC/PC in Memory | Yes | |
| QC Record | Yes | |
| Day Average | 7/14/21/28/60/90 days | |
| LCD Backlight | - | |
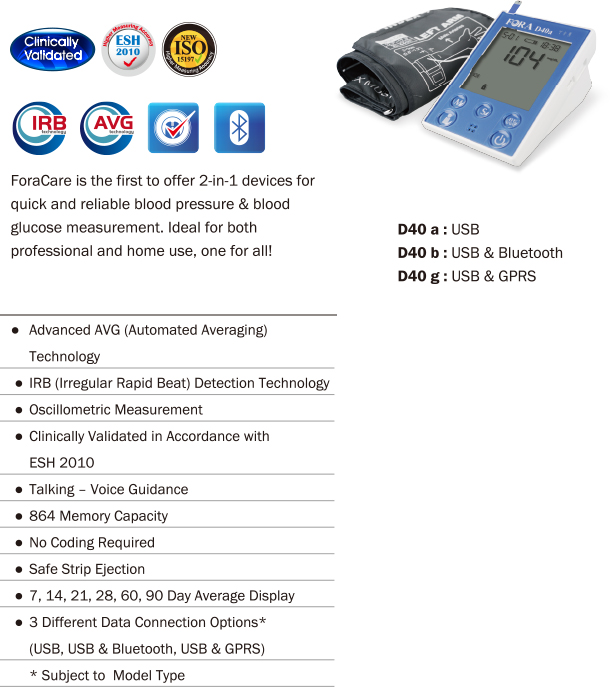
| PC Link | D40a: USB D40b: USB+ BT D40g: USB+ GPRS |
|
| Specification | Power Source | AA*4 alkaline batteries AA*4 rechargeable Ni-MH batteries Rechargeable Li-Ion Battery*(special order) External DC 6V |
| Power Saving | 3 minutes (normal mode) or 5 minutes (RF mode) | |
| Dimension (mm) | 147 x 105 x 80 | |
| Weight (g)- Batteries Excluded | 400 | |
How To Use (Blood Glucose) |
|
 |
 |
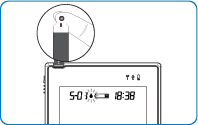
| 1. Insert a test strip to turn on the meter. The sequence of LCD displays is: “CHK” and “ |
2. Hold the pre-set lancing device firmly against the puncture site. Press the release button to obtain a drop of blood. |
 |
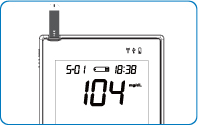 |
| 3. While " |
4. After the meter counts to 0, your test result will appear along with the date and time and will be automatically stored in memory. |
How To Use (Blood Pressure) |
|
 |
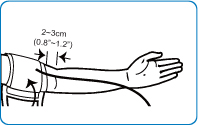 |
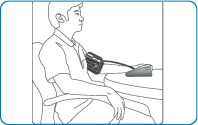
| 1. Sit down for at least 10 minutes before measuring. | 2. Place your elbow on a flat surface and relax your hand with the palm facing up. The red line on the edge of the cuff should be approximately 0.8 to 1.2 inch (2 to 3 cm) above your elbow. |
 |
 |
| 3.Apply the proper pressure cuff and make sure the cuff is at the same height as your heart. | 4.Arrange tubing over the main arteries inside of your arm. Press |
 |
|
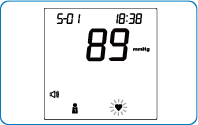
| 5. Measurement is in progress: Start inflation → Stop inflation when cuff pressure is enough → Cuff pressure deflates steadily. | 6.The monitor will display the systolic pressure, diastolic pressure, and heart rate along with the date and time. Press |